I’ve installed two OCZ Vertex Turbo 60GB solid state drives and created a RAID-0 array. I want to share my experience with you.
From the top
This has been quite a weekend. I’ve lost most/all of my data including my Monday Movie resources, music, movies, software, and other irreplaceable this-and-that. At the very least, I should write about why this all happened and encourage others to carefully try the same. It’s really given me a snappy computer setup and, despite the crippling cost, I would probably do it again. Probably.
Summary
Here’s the rundown:
- Two OCZ Vertex Turbo SSDs (2.5″): $200 each.
- Two Icy Dock 2.5″->3.5″ HDD converters: $20 each.
- Backups are critical- take offsite backups, or at least store data in an external drive and disconnect it.
- Enable write-back cache to enhance performance.
So let’s take a look at what I did, how I did it, and how you can profit from the process without having to pay the agonizing cost I did.
Gearing Up
Learn From My Mistakes- Take Backups
I backed up my data on another hard drive that is attached to my computer. However, I didn’t unplug it and the RAID system I created might have mucked with the boot sector. Successive attempts to repair the problem made things worse. Long story short, just buy a passport. At $150 for a terabyte of data, you’ll never run out and it’s a great place to put data while you’re working on your rig. I have a smaller one that wasn’t suitable for some of the stuff I needed to back up so at least I have some of my documents.
The OCZ Solid State Drives- Purchase and Unboxing
For starters, I bought the drives from Newegg. Again, these were the 60GB Vertex Turbo 2.5″ units you can find here.
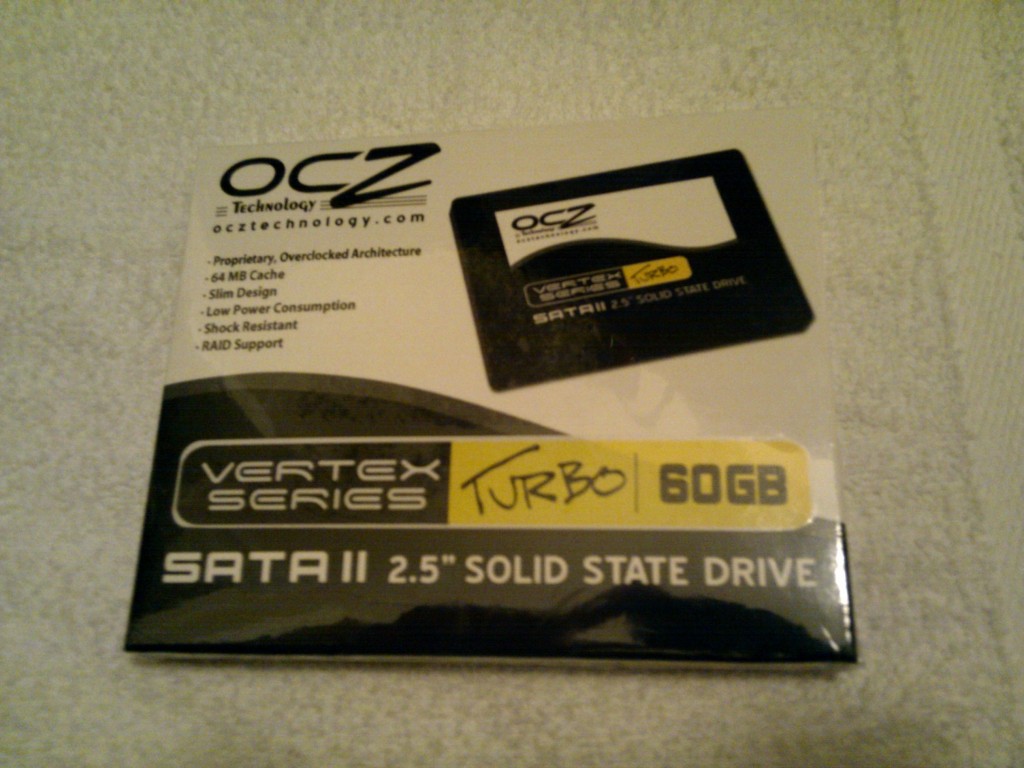
Unopened OCZ 60GB Solid State Drive Front
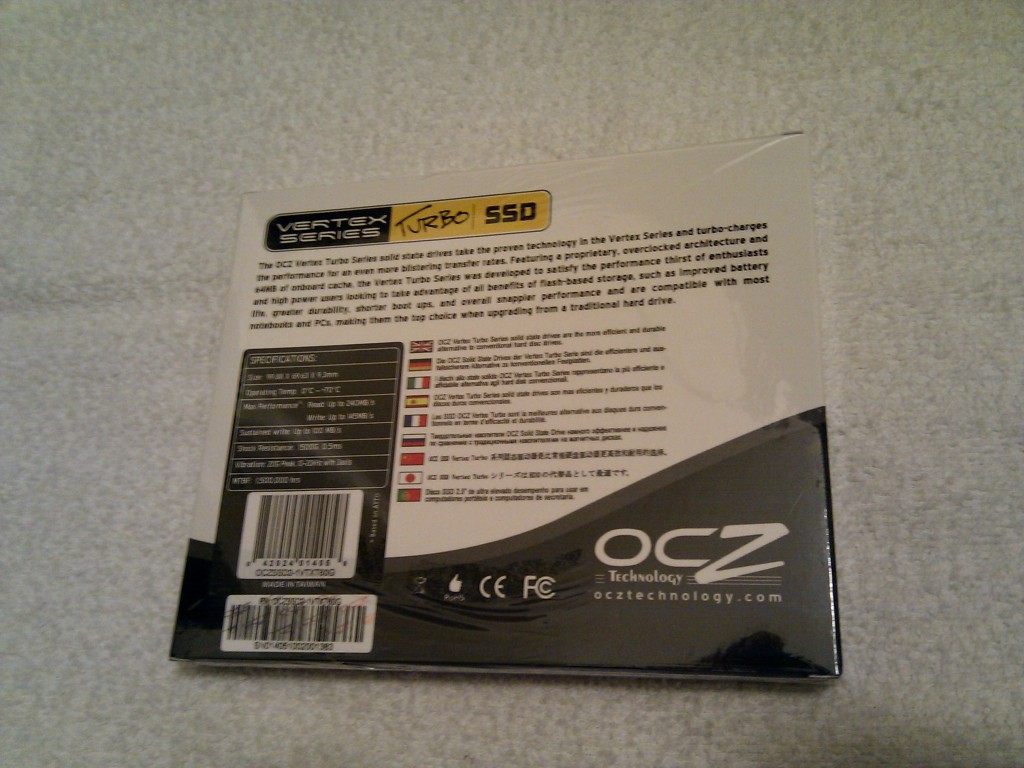
Unopened OCZ 60GB Solid State Drive Back
Alright. We’re ready with the drives. Let’s open them up and take a look!
Alright. We’re ready with the drives. Let’s open them up and take a look!
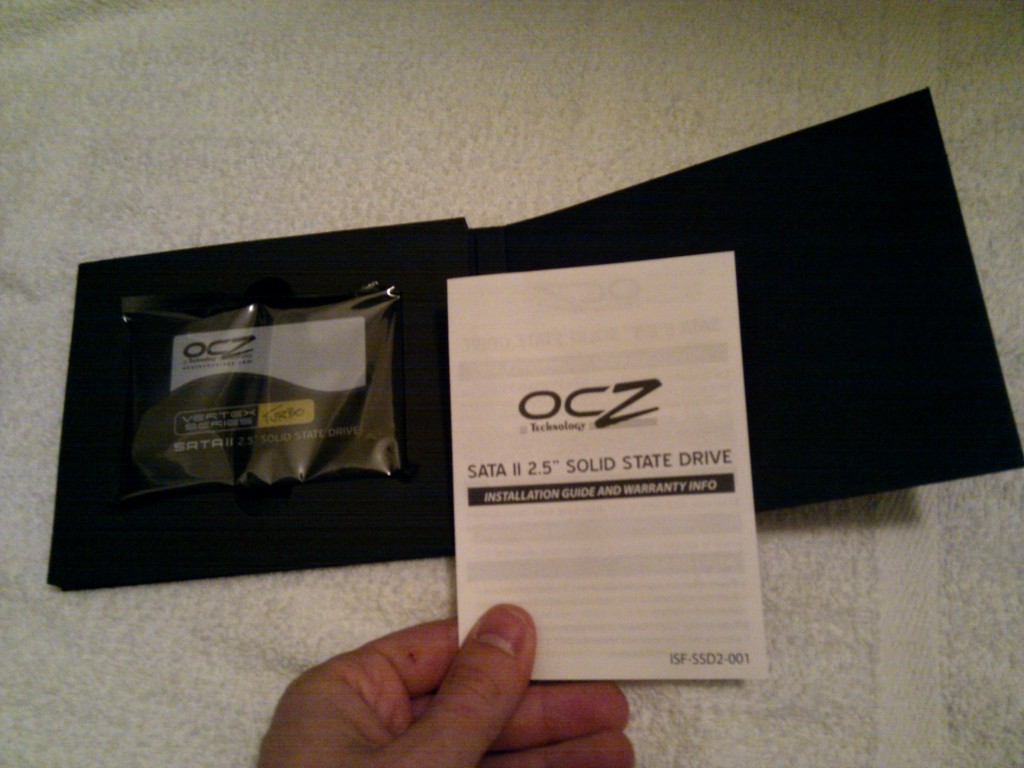
OCZ 60GB vertex turbo carefully placed on top of the drive.
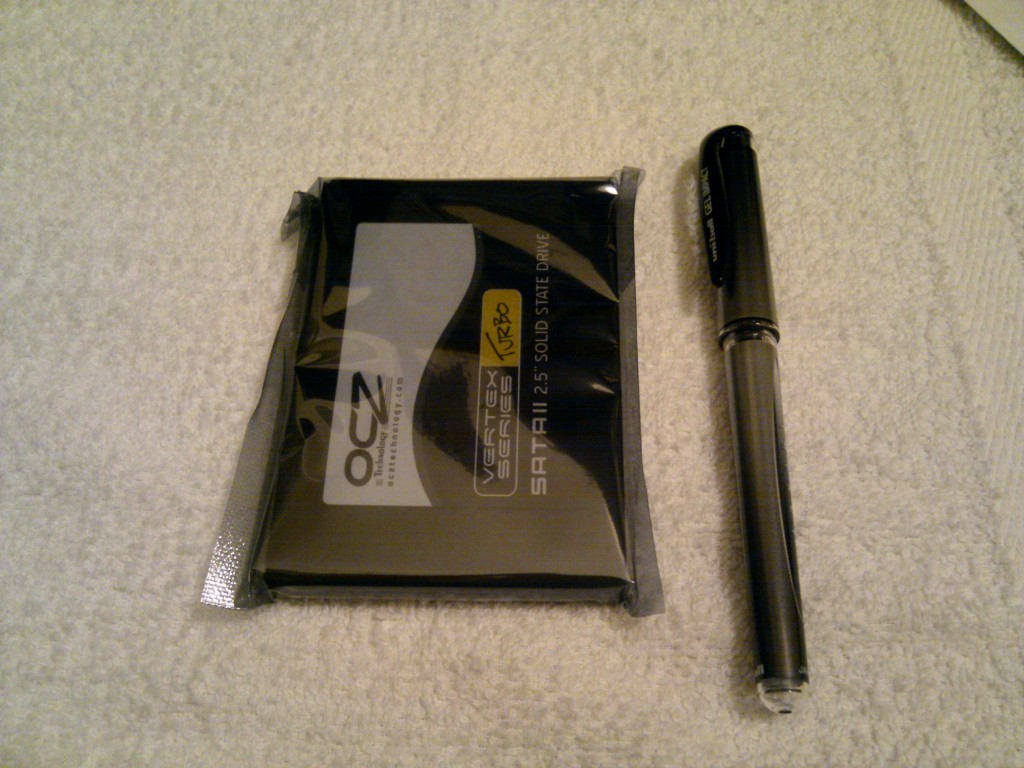
The OCZ Vertex Turbo as compared to an ordinary pen.
Now initially I had bought mounting brackets- probably like you’re planning on doing because they’re cheaper. Do not do this. The brackets do not increase the length of the drives, which is what really matters in some cases (like mine). Take a look at the following images.
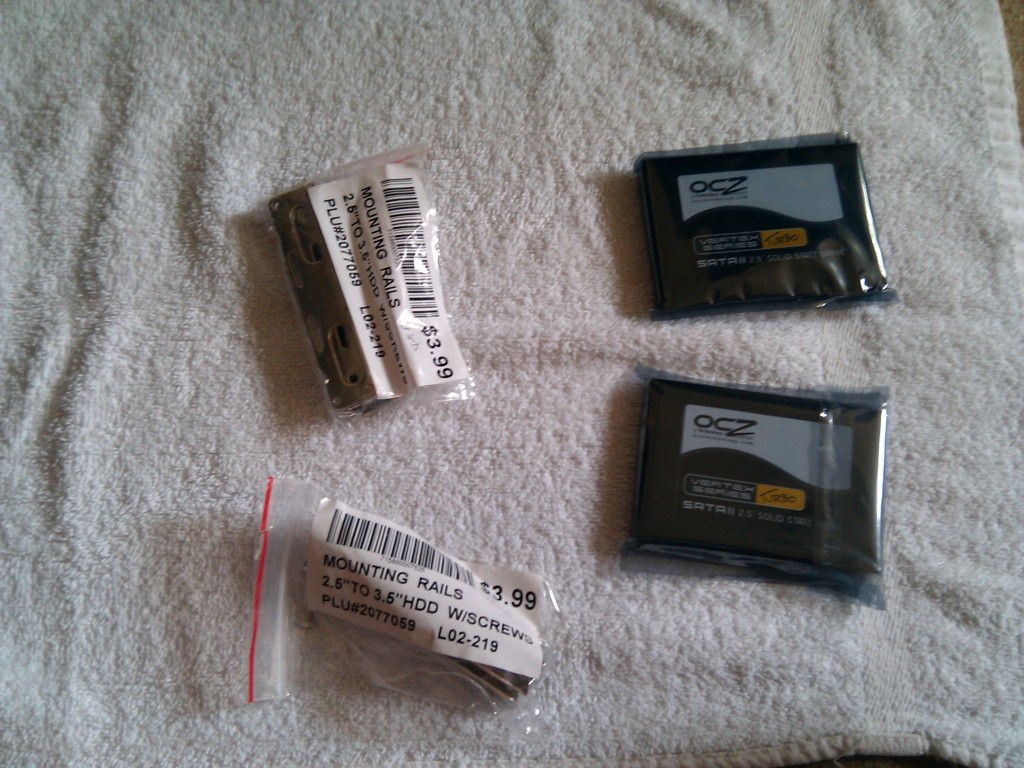
The SSDs and mounting brackets in their packaging.
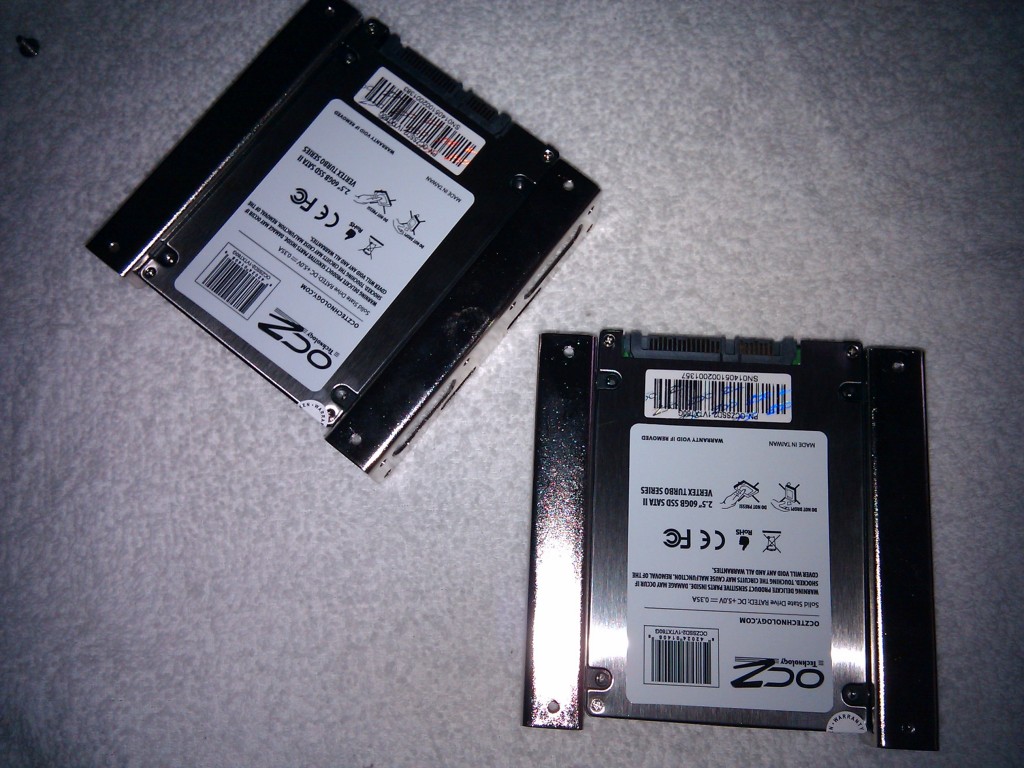
Mounting brackets attached…properly?
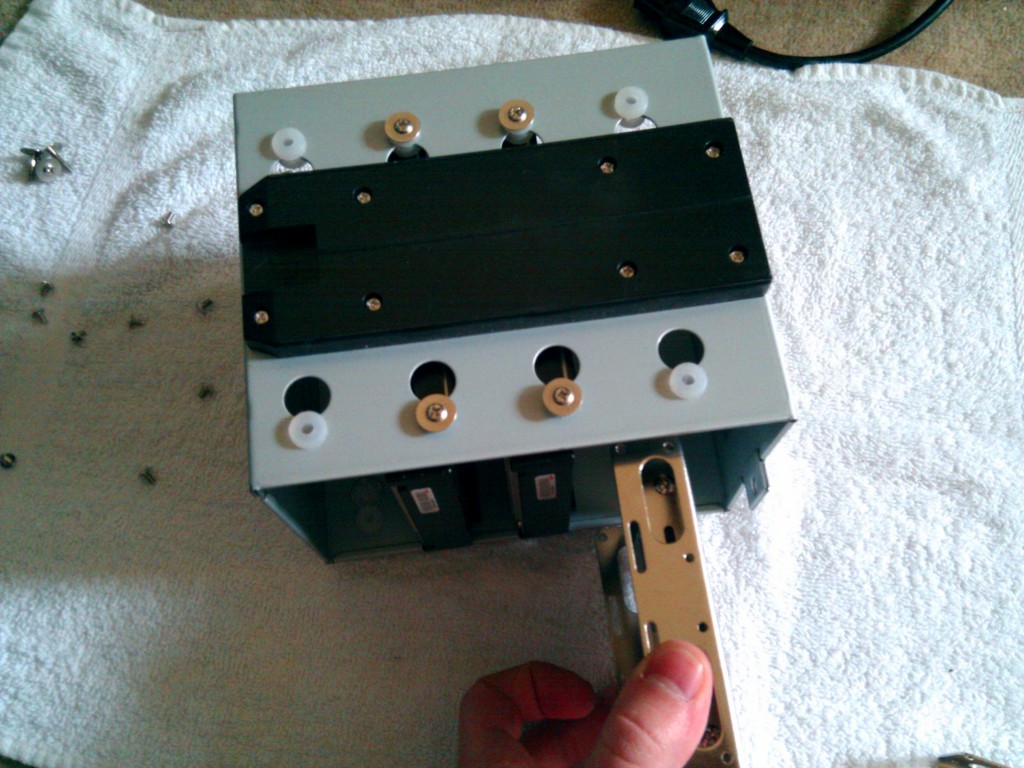
This…isn't going to work, is it? Nope- the adapted drives are wide enough,but not long enough.
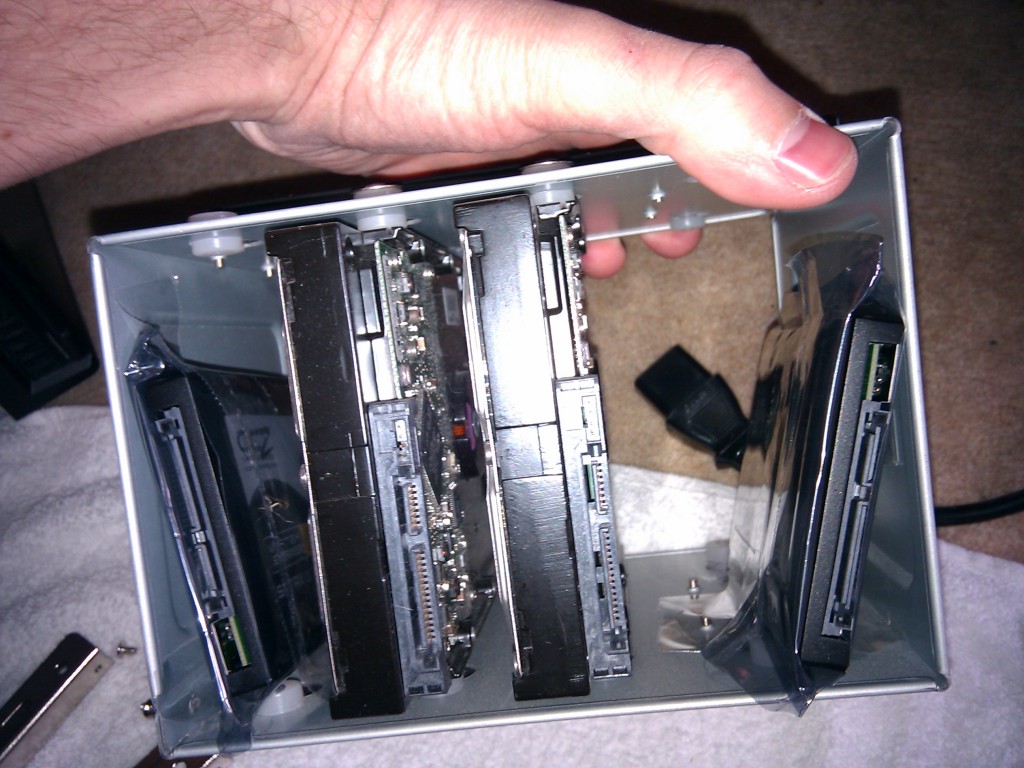
Drive mounted with tape. I know, but I'm not going to Frys again.
Now I didn’t leave them tape mounted. Once I confirmed that the drives were working, I went out and bought the two Icy Docks to hold the drives. They convert the size to a full 3.5″ hard drive specification which is what my case is expecting.
Once the hard part was over, it was time for some benchmarking. Note that I am not tech savvy compared to some other people out there so if I can do it, you can do it. Here’s some performance metrics for the two OCZ Vertex Turbo drives in Raid-0. I know they’re not comprehensive- you can find more details elsewhere. I just want to give you an idea of what an ordinary human can do.
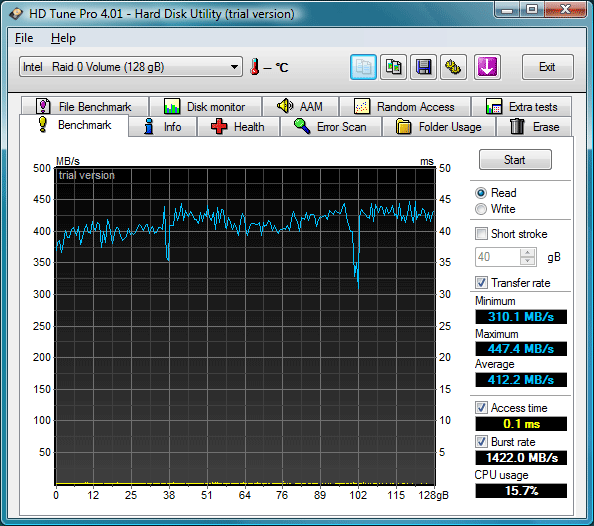
File reading performance graph for solid state RAID-0 array.
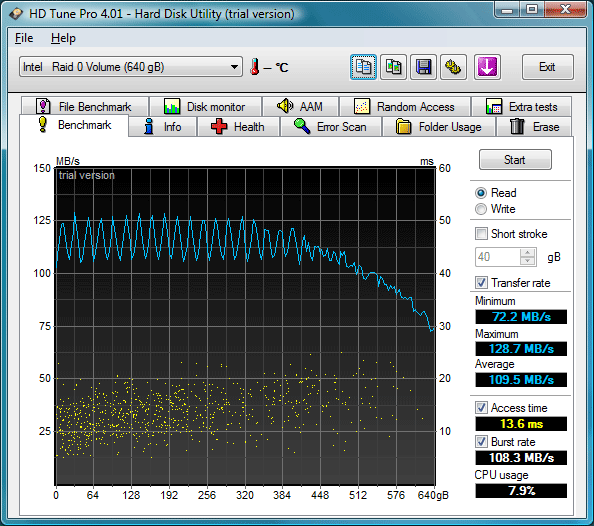
These are two Seagate HDDs and their RAID-0 Read Performance
The two Seagate drives are Seagate Barracuda 7200.10 ST3320620AS 320GB. Take a look at some random access stats:
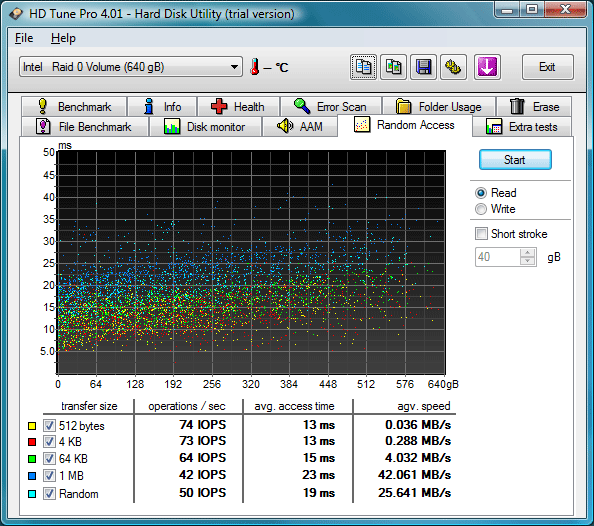
HDD Random Access Performance in RAID-0
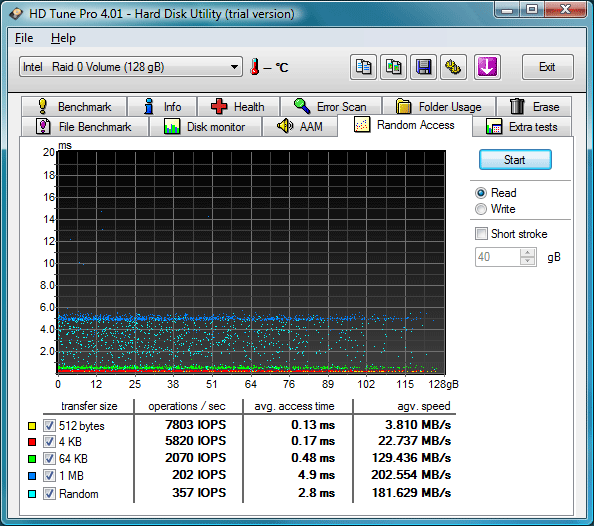
OCZ Vertex Turbo solid state drives and random access- a match made in heaven!
You can see that the solid state drives provide a lot in the way of random access. Overall they’re faster, but they really shine in accessing and moving small files. The kind you’ll use in rendering scenes that need to page textures and assets. The kind you’ll use in running games that need to reach out to map files and textures often during level changes.
And that’s the overview. This was a pretty easy operation, everything considered. I’m looking forward to really pushing the limits of this system with some gaming/rendering!


