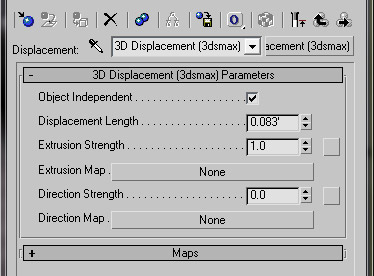
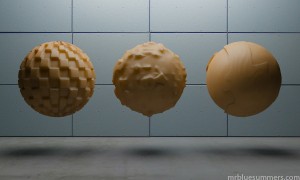
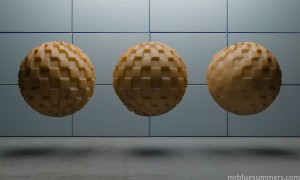
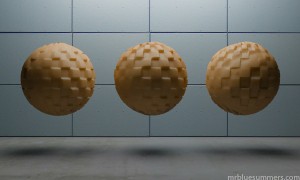
As I’m working on the new Sub-Surface Scattering tutorial I thought I would break off a small piece and make it an independent post. Below I’ll provide a visual guide to the parameters in the 3d Displacement Shader in 3d Studio Max mental ray. It’s pretty straightforward but there are some interesting things you might not have known you can do with it!
Object Independent
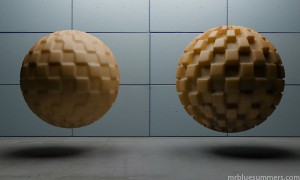
When this is turned on the displacement effect is independent of the size of the object’s bounding box. When it’s off the displacement effect is scaled according to the size of the object. Scaling the displacement based on object size is the standard behavior for regular 3ds Max displacement mapping so if you leave this checkbox checked then the displacement length will behave like a normal material would.
Displacement Length
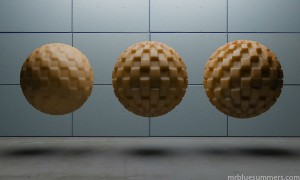
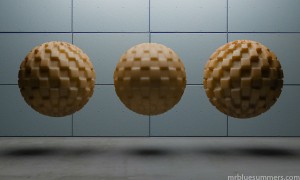
This is the length of displacement when Object Independent is checked, the extrusion map is at 100 percent (white), and the Extrusion Strength equals 1.0. Lower gray levels in the extrusion map, or other values of Extrusion Strength, scale the amount of displacement. Think of this as a way to alter the displacement map’s contrast.
Extrusion Strength
Controls the height of the displacement. This value is a multiplier: at the default value of 1.0, the map’s effect is unchanged. Greater values will make the displacement more severe while lower values will make it more subtle.
Extrusion Map
Click to display the Material/Map Browser and choose a map to use for the displacement. Displacement maps apply the gray scale of the map to generate the displacement. Lighter colors in the 2D image push outward more strongly than darker colors, resulting in a 3D displacement of the geometry.
Direction Strength
Controls the strength of the direction shader. Adding a direction shader has no real effect unless you have the Direction Strength set above zero.
Direction Map
The direction map is a lot like a normal map. The direction of the displacement is changed according to the RGB values of the map you use here. Red values offset in the U axis, Green values offset in V, and Blue values offset in W (using the object-local UVW coordinates).
By am0 July 5, 2010 - 11:12 am
As usual, your Tutorial is very great !
I’ll thank you never enough for ALL your sharing !!!
MrBluesummers is a amazing and must place in the CG world…
Thank you MrBlue :]
Regards
By MrCAD July 22, 2010 - 8:24 am
very useful tutorial for the max community !! I plug the link on my blog
By Roger July 22, 2010 - 2:12 pm
Dude I’m from Brazil, and here i dont found this kind of tutorial,
your tutorials are awesome,
till now I’m tryin to do the SSS tutu 😀
thanks
By Neimar July 24, 2010 - 12:06 am
What is the version 3DS ?
thanks Iam From Brazil
By Mr. Bluesummers July 25, 2010 - 8:43 pm
This would be 3dsMax 2009.
By ferry August 30, 2010 - 8:14 am
wow.. really useful tutorial.. thanks
By titus October 31, 2010 - 2:39 pm
very good tutorial.thanks mr blue.i learned a lot about mental ray from you.
By Mr. Bluesummers March 16, 2011 - 1:23 am
@Titus
@Ferry
Thanks fellas! Glad you like it!
By stenionet March 29, 2011 - 6:08 pm
Mr. Bluesummers
Thanks for this great tutotiral.
Could you do with a box? I am having problems trying to do a stone wall.
By free 3d models October 6, 2011 - 4:28 pm
digital wallpaper…
[…]The mental ray 3d Displacement Shader | MrBluesummers.com[…]…
By painting October 20, 2011 - 11:51 pm
painting…
[…]The mental ray 3d Displacement Shader | MrBluesummers.com[…]…
By Mr. Bluesummers February 21, 2012 - 5:51 pm
Images fixed!